Tasks
In this section, you can create, manage, and update tasks. Please note that any white spaces or special characters in task names will be automatically replaced with underscores.
Create a Task
To create a new task, follow these steps:
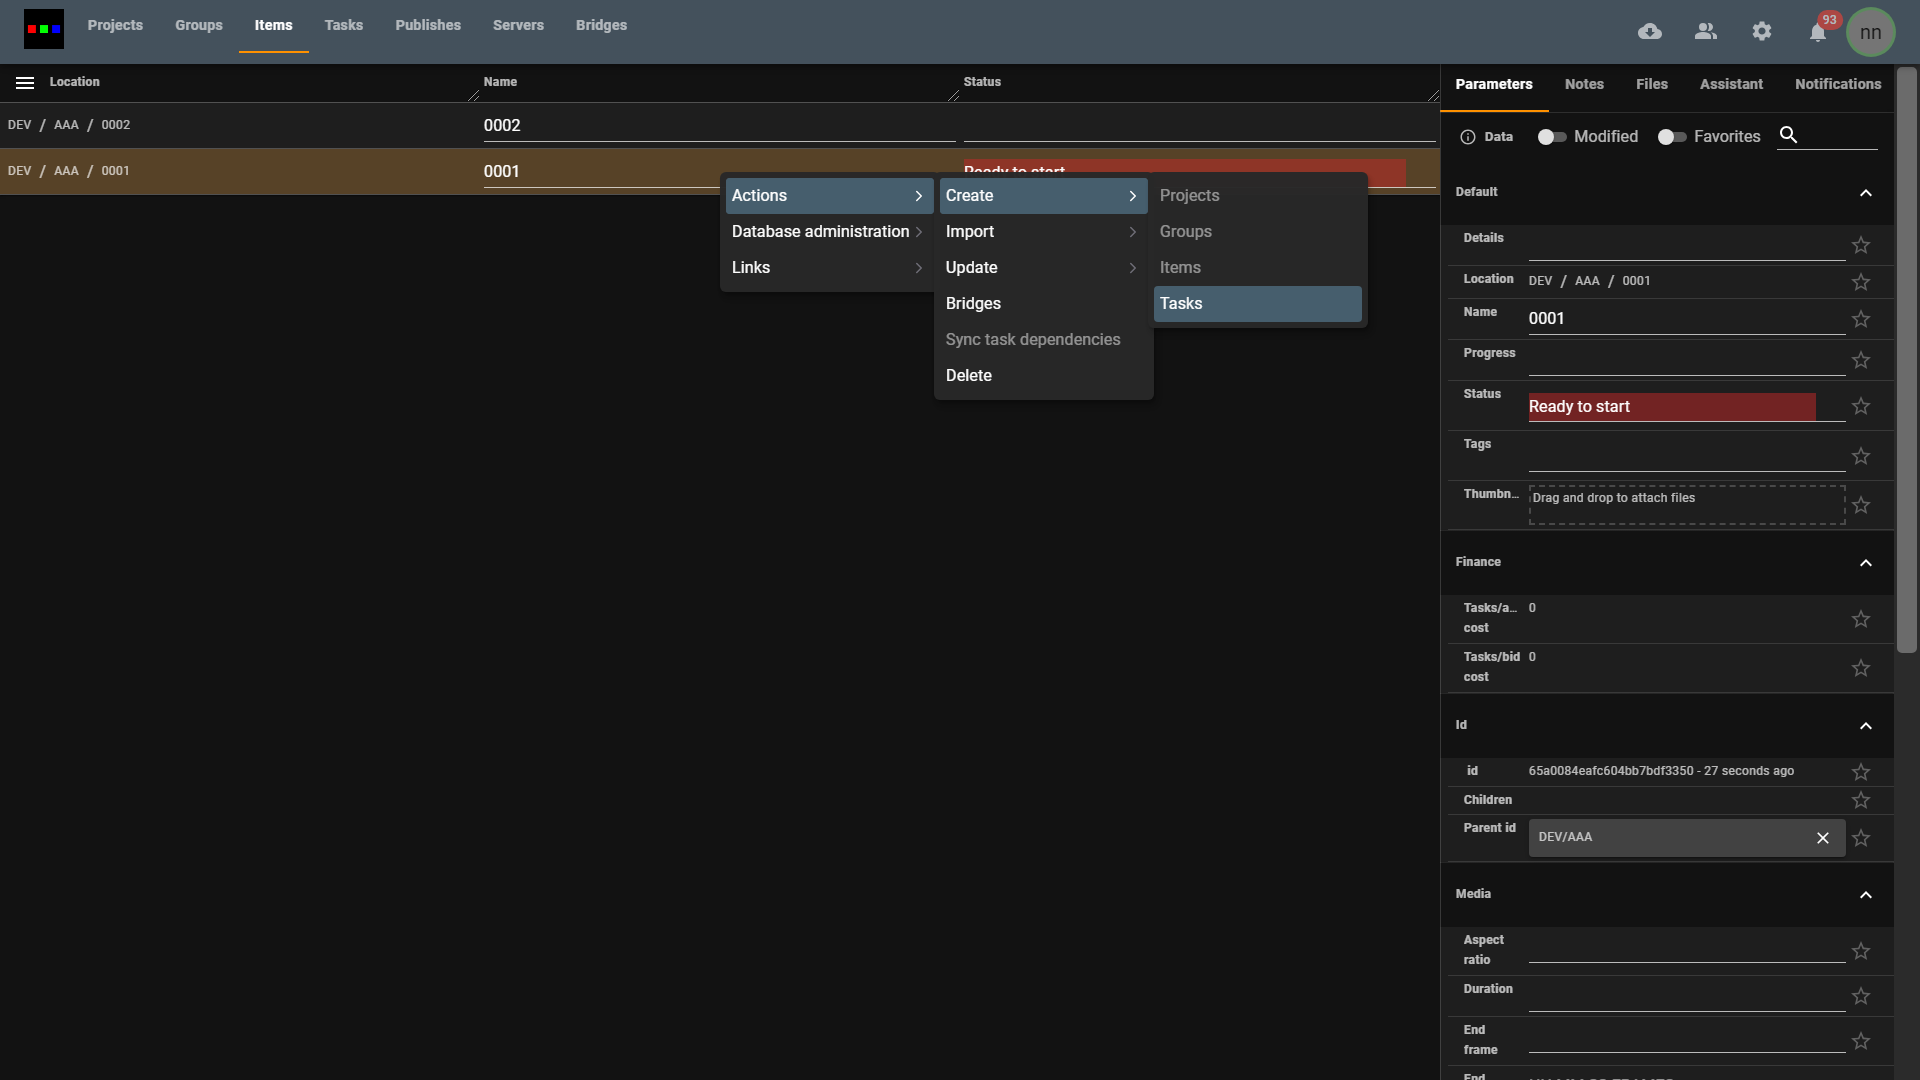
Access the "Tasks" Tab: Right-click anywhere inside the "Tasks" tab.
Open the Actions Context Menu: Click on the actions context menu.
Select "Tasks": From the context menu, select the "Tasks" option.
- Name Your Task: Enter the name you want for the task. Any white spaces or special characters in the name will be automatically replaced with underscores. You can create multiple by separating with a ",".
-cf88e65532b334fcade734a0eccd861e.png)
- Click "Create": Click the "Create" button. You also have the option to choose a template based on an existing document, which will recursively copy its contents.
-7200ebed832967a5f3ab7cbcb7bdd6d6.png)
- Task Created: Congratulations! You've successfully created new documents for your task. You can now proceed with task management.
Update a Task
To update a task, follow these steps:
- Locate the Task: Find the task you want to update in the "Tasks" tab.
-9fda1921014d9238a00d69a3e90fbdf1.png)
- Edit Visible Table Parameters: You can now update any visible table parameter, such as changing the task's status to "Ready to start."
-b49e75b0e4650d83247a6f12daf0bf99.png)
- Access Additional Parameters: For other parameters, click the task item and go to the "Parameters" tab. Here, you can assign members to the task and make more detailed updates.
-fbec33ffc60930cd5efd1d21696dd4c6.png)
- Add Important Data: Additionally, you can fill in any other important data, such as start and end dates for the task. This allows you to maintain a comprehensive record of your task's details.
info
Make sure to add components to control what publishes and default folders are made for the task.