Projects
In this section, you can create, manage, and update projects. Please note that any white spaces or special characters in project names will be automatically replaced with underscores.
Any white space or special characters for names are replaced with underscores
Users who don't have permissions to insert need to be assigned in order to have access. By default this is anyone who does not have a manger permission.
Create a Project
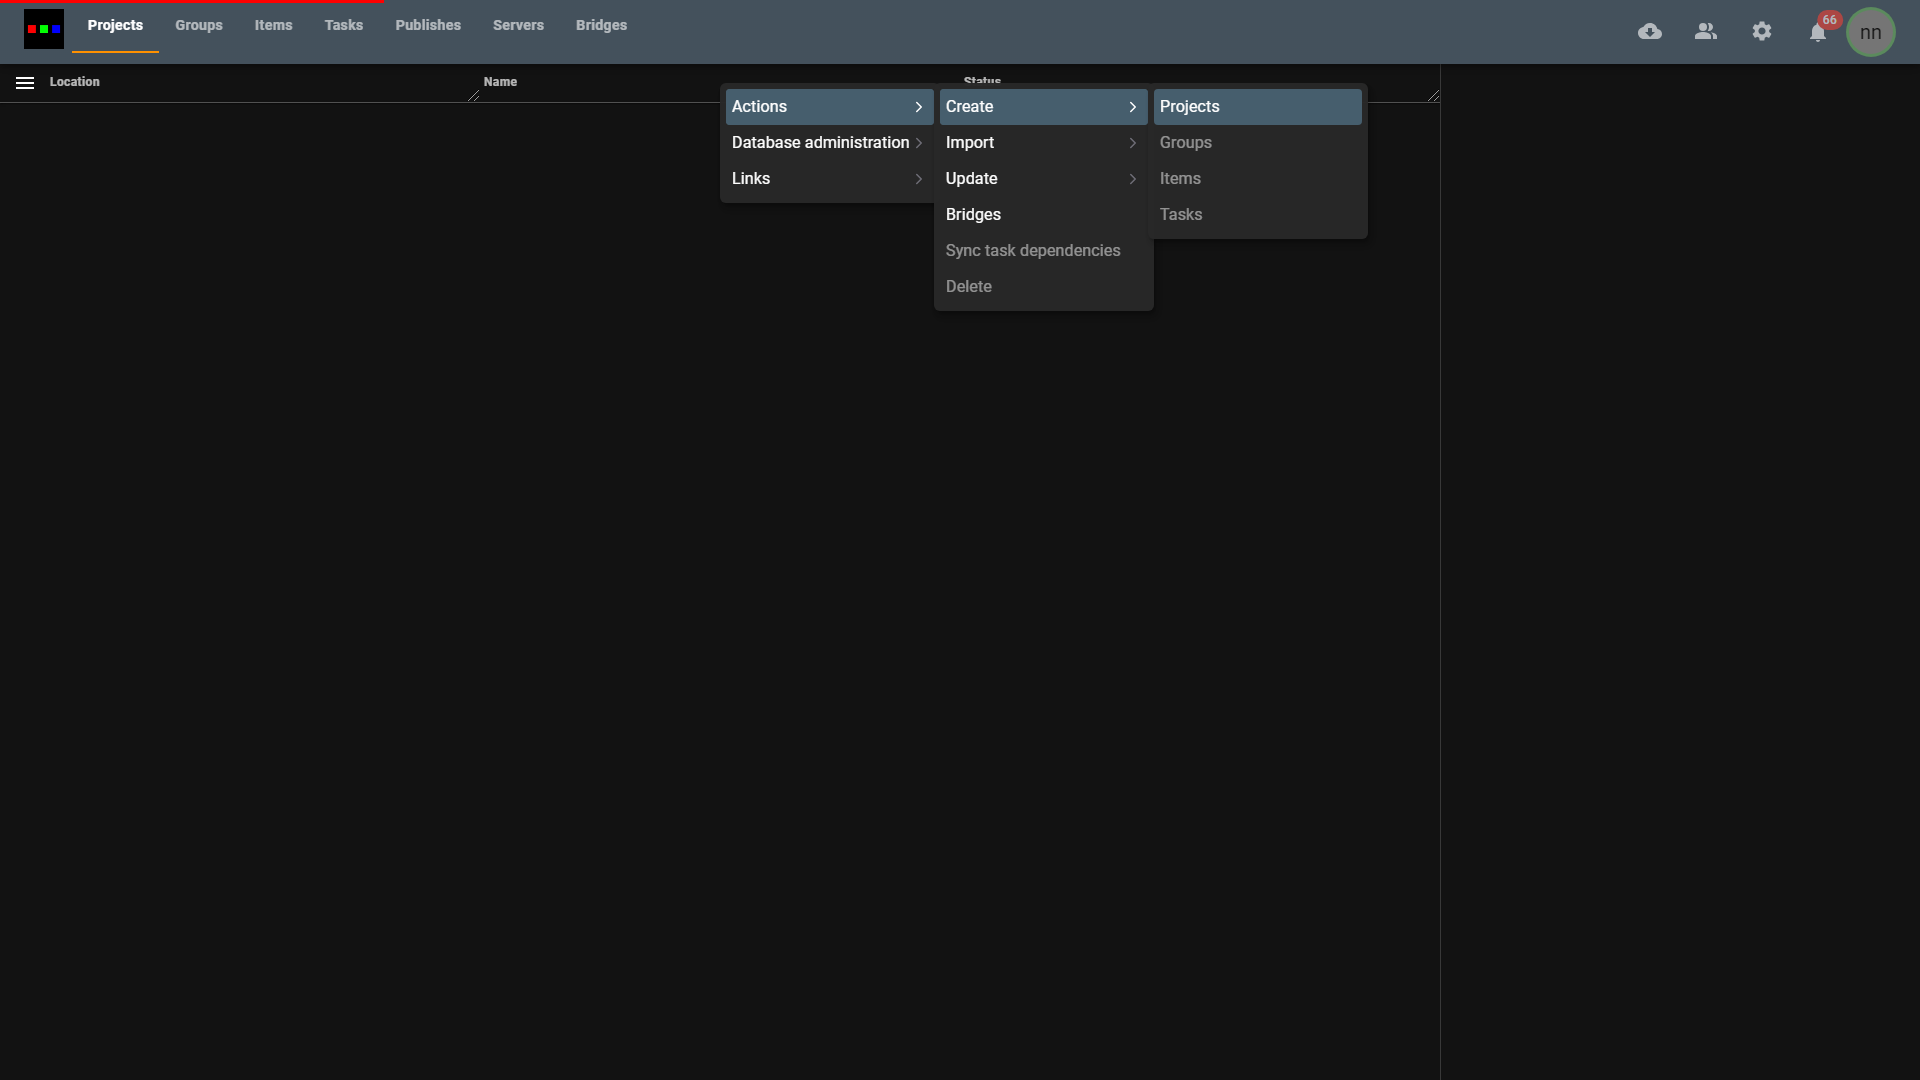
To create a new project, follow these steps:
Access the "Projects" Tab: Right-click anywhere inside the "Projects" tab.
Open the Actions Context Menu: Click on the actions context menu.
Select "Projects": From the context menu, select the "Projects" option.
- Name Your Project: Enter the name you want for the project. Any white spaces or special characters in the name will be automatically replaced with underscores.
-7498e81ff01fb236726b92fce25d57dc.png)
- Click "Create": Click the "Create" button. You also have the option to choose a template based on an existing document, which will recursively copy its contents.
-2c474d0f8e1381dff14e76702fc60ac3.png)
- Project Created: Congratulations! You've successfully created a new document for your project. You can now proceed with project management.
Update a Project
To update a project, follow these steps:
Locate the Project: Find the project you want to update in the "Projects" tab.
Edit Visible Table Parameters: You can now update any visible table parameter, such as changing the project's status to "Ready to start."
-bc0d8a883d68e95674b4460324bcb8ec.png)
- Access Additional Parameters: For other parameters, click the project item and go to the "Parameters" tab. Here, you can assign members to the project and make more detailed updates. You can apply any permissions to access and even make custom ones.
-5f7d4d0976c8cf5df63aac78fae8863c.png)
- Add Important Data: Additionally, you can fill in any other important data, such as start and end dates for the project. This allows you to maintain a comprehensive record of your project's details.
-453033e325b3e2ecfab55d9f7290dfc6.png)